目录
zsh 安装及配置
更新软件源及软件
备份源文件
cp /etc/apt/sources.list /etc/apt/sources.list_bak
ubuntu修改源文件为清华源/etc/apt/sources.list
ubutnu 适用版本:14.04 LTS~22.04 LTS
sed -i "s@http://.*archive.ubuntu.com@https://mirrors.tuna.tsinghua.edu.cn@g" /etc/apt/sources.list
sed -i "s@http://.*security.ubuntu.com@https://mirrors.tuna.tsinghua.edu.cn@g" /etc/apt/sources.list
debian修改源文件为清华源/etc/apt/sources.list
debian 适用版本为:11 bullseye
apt install apt-transport-https ca-certificates
cat > /etc/apt/sources.list << EOF
# 默认注释了源码镜像以提高 apt update 速度,如有需要可自行取消注释
deb https://mirrors.tuna.tsinghua.edu.cn/debian/ bullseye main contrib non-free
# deb-src https://mirrors.tuna.tsinghua.edu.cn/debian/ bullseye main contrib non-free
deb https://mirrors.tuna.tsinghua.edu.cn/debian/ bullseye-updates main contrib non-free
# deb-src https://mirrors.tuna.tsinghua.edu.cn/debian/ bullseye-updates main contrib non-free

deb https://mirrors.tuna.tsinghua.edu.cn/debian/ bullseye-backports main contrib non-free
# deb-src https://mirrors.tuna.tsinghua.edu.cn/debian/ bullseye-backports main contrib non-free

deb https://mirrors.tuna.tsinghua.edu.cn/debian-security bullseye-security main contrib non-free
# deb-src https://mirrors.tuna.tsinghua.edu.cn/debian-security bullseye-security main contrib non-free
EOF
更新源和软件
apt update
apt upgrade -y
1. zsh介绍
zsh 是一个兼容 bash 的 shell,相较 bash 具有以下优点:
- Tab 补全功能强大。命令、命令参数、文件路径均可以补全。
- 插件丰富。快速输入以前使用过的命令、快速跳转文件夹、显示系统负载这些都可以通过插件实现。
- 主题丰富。
- 可定制性高。
关于 zsh 的更多的信息,可以访问 zsh.org查看。
这篇文章中zsh部分参考自:zsh 安装与配置:9步打造高效命令行
2. zsh安装
apt-get install zsh
更换shell为zsh
chsh -s /bin/zsh
3. oh-my-zsh安装
首先安装wget,git和curl
apt install wget git curl -y
使用 curl 下载脚本并安装:
sh -c "$(curl -fsSL https://gitee.com/zfx521/ohmyzsh/raw/master/tools/install.sh)"
或者使用 wget 下载脚本并安装:
sh -c "$(wget https://gitee.com/zfx521/ohmyzsh/raw/master/tools/install.sh -O -)"
4. zsh配置
1. 修改主题
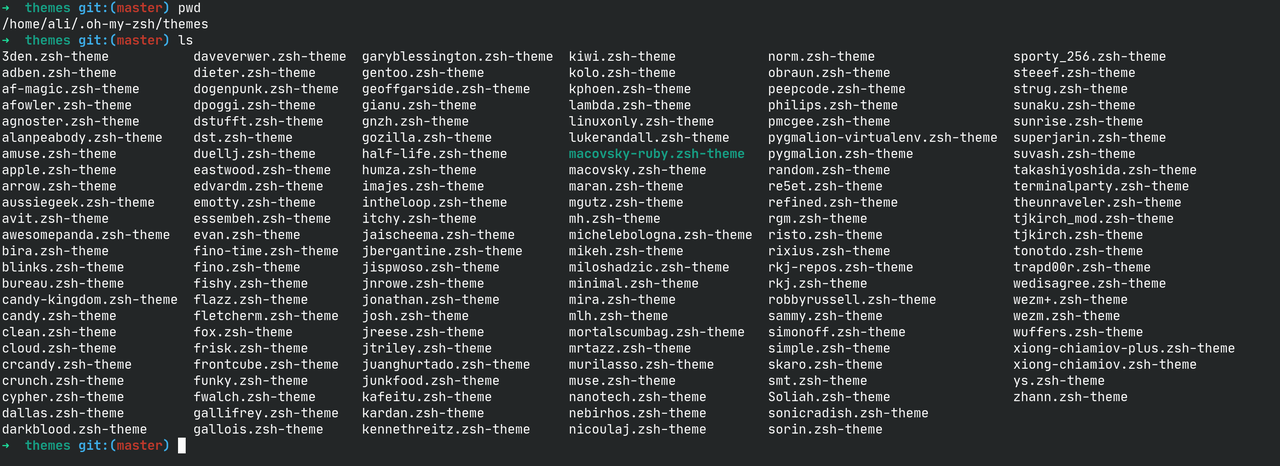
在 https://github.com/ohmyzsh/ohmyzsh/wiki/Themes 中查看内置的主题样式和对应的主题名。这些内置主题已经放在 ~/.oh-my-zsh/themes 目录下,不需要再下载。
除了内置主题外,还可以选择其他开源的主题,强烈推荐尝试一下 powerlevel10k 主题,一个顶十个,项目地址为:https://github.com/romkatv/powerlevel10k
oh-my-zsh 安装这个款主题的方法:使用 git 将文件 clone 只指定文件夹 ~/.oh-my-zsh/custom/themes/powerlevel10k ,命令如下:
git clone --depth=1 https://gitee.com/zfx521/powerlevel10k.git ${ZSH_CUSTOM:-$HOME/.oh-my-zsh/custom}/themes/powerlevel10k
使用 vim 编辑 .zshrc,键入以下内容并保存:
ZSH_THEME="powerlevel10k/powerlevel10k"
最后,执行 source ~/.zshrc 配置生效,这时会提示对主题进行配置,按照提示进行即可。
2. 安装插件
oh-my-zsh 已经内置了 git 插件,内置插件可以在 ~/.oh-my-zsh/plugins 中查看 ,下面介绍一下我常用的三个插件,更多插件可以在 awesome-zsh-plugins 里查看。
zsh-autosuggestions
zsh-autosuggestions 是一个命令提示插件,当你输入命令时,会自动推测你可能需要输入的命令,按下右键可以快速采用建议。效果如下:
安装步骤:
-
把插件下载到本地的
~/.oh-my-zsh/custom/plugins目录:git clone https://gitee.com/zfx521/zsh-autosuggestions.git ${ZSH_CUSTOM:-~/.oh-my-zsh/custom}/plugins/zsh-autosuggestions -
在
.zshrc中,把zsh-autosuggestions加入插件列表:plugins=( # other plugins... zsh-autosuggestions # 插件之间使用空格隔开 ) -
开启新的 Shell 或执行
souce ~/.zshrc,就可以开始体验插件。
zsh-syntax-highlighting
zsh-syntax-highlighting 是一个命令语法校验插件,在输入命令的过程中,若指令不合法,则指令显示为红色,若指令合法就会显示为绿色。效果如下:
安装步骤:
-
把插件下载到本地的
~/.oh-my-zsh/custom/plugins目录:git clone https://gitee.com/zfx521/zsh-syntax-highlighting.git ${ZSH_CUSTOM:-~/.oh-my-zsh/custom}/plugins/zsh-syntax-highlighting -
在
.zshrc中,把 ` zsh-syntax-highlighting` 加入插件列表:plugins=( # other plugins... zsh-autosuggestions zsh-syntax-highlighting ) -
开启新的 Shell 或执行
souce ~/.zshrc,就可以开始体验插件了。
z
z 是一个文件夹快捷跳转插件,对于曾经跳转过的目录,只需要输入最终目标文件夹名称,就可以快速跳转,避免再输入长串路径,提高切换文件夹的效率。效果如下:
安装步骤:
-
由于 oh-my-zsh 内置了 z 插件,所以只需要在
.zshrc中,把 z 加入插件列表:plugins=( # other plugins... zsh-autosuggestions zsh-syntax-highlighting z ) -
开启新的 Shell 或执行
souce ~/.zshrc,就可以开始体验插件了。
设置 alias
zsh 支持为较长命令设置一个别名,这样在使用时可以快捷输入。
这里以 cd ~/projects/hackerneo/blog 这个命令来举例:
-
在
.zshrc中键入:alias cdblog="cd ~/projects/hackerneo/blog" -
开启新的 Shell 或
souce ~/.zshrc,以使配置生效。生效后就可以使用cdblog进行跳转了。
除了自己设置 alias 之外,一些插件也内置内很多 alias。最常用的是 git 插件内置的 alias。例如,ga 就代表 git add,更多 git 插件内置 alias 可以在 git plugin alias 中查看。
常用代理设置
export hostip=127.0.0.1
export hostport=7890
alias dl='export https_proxy="http://${hostip}:${hostport}";export http_proxy="http://${hostip}:${hostport}";export all_proxy="socks5://${hostip}:${hostport}";'
# # # 创建命令用于关闭代理
alias undl='unset https_proxy;unset http_proxy;unset all_proxy;'
常用设置
alias updo='docker compose pull;docker compose stop;docker compose rm -f;docker compose up -d'
常见问题
不常用命令
显示当前目录下的子目录大小
du -h --max-depth=1 ./
下载视频
pip安装
yt-dlp
you-get
查看实时网速
ifstat
python3更换清华源
使用清华源升级pip
python3 -m pip install -i https://pypi.tuna.tsinghua.edu.cn/simple --upgrade pip
设置pip默认使用清华源
pip config set global.index-url https://pypi.tuna.tsinghua.edu.cn/simple
新建用户
Debian安装完成后没有sudo程序,需要自己安装sudo程序,ubuntu可以忽略
apt install sudo
username是需要创建的用户名
adduser username
将用户添加到sudo组或者是给用户root权限
usermod -aG sudo username
切换到新创建的用户
su - username
输入
whoami
显示root即为添加成功
如果不行可以修改/etc/sudoers文件
添加username ALL=(ALL)ALL即可
vim创建配置文件
在~目录下创建.vimrc文件
在里面键入一下内容
:set nu
:syn on
:set mouse=a
第一行为显示行号
第二行为语法高亮
第三行为启用鼠标,可以用滚轮进项上下滑动,点击即可将光标移动到相应位置
更多使用方法可以查看vim 极速教程
swap 内存添加
在root模式下运行
数值单位为MB
wget -O box.sh https://raw.githubusercontent.com/BlueSkyXN/SKY-BOX/main/box.sh && chmod +x box.sh && clear && ./box.sh
小张
/
/ - views